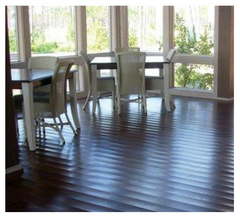
 Cause: Flooring absorbing excessive moisture on underside, causing expansion with raised edges. / Not leaving enough expansion space around perimeter. / Flooring has nowhere to go but up. / Cupping is very common in newly built homes. / Develops gradually and cause boards to crack and split. / Finishing the ceiling in basement traps moisture, which is absorbed by hardwood floor; prolonging the time flooring will remain cupped.
Cure: Run a commercial dehumidifier in the basement with fans blowing air towards it. It is very important to place the dehumidifier in the basement, as it will pull the moisture down from the sub-floor, minimizing the long-term damage (cracks, splits). If the dehumidifier is placed upstairs, the sub-floor moisture will be drawn through the hardwood, causing cracks and splits.
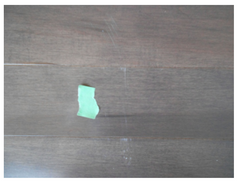 Cause: Trades people careless with tools. / Moving furniture and appliances. Cure: Use a touch-up marker to make the scratches less visible / Adhere felt pads on furniture legs / Replace heavily damaged boards / deal with the trades people who are causing the damage.
 Cause: During the heating season, the air is dry and the wood gives up some of its moisture and shrinks. These spaces are larger in the area above the heating system and along the heat duct runs. Cure: Run a humidifier to add moisture into the environment or wrap your heat ducts with insulation.
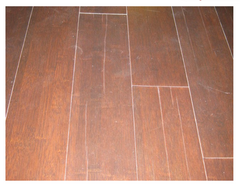 Cause: Wood is a natural product and when it is exposed to conditions outside of the recommended 30-50% relative humidity, it can crack and split. Cure: Replace the damaged boards / Use putty, stain, and topcoat / Live with the cracks and splits.
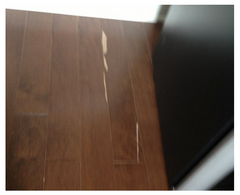 Cause: Excessive water left on or below the surface of the flooring for extended periods of time. The finish becomes wrinkled on the edges, end, and surface. The finish can peel. The damage can be caused by water coolers, icemakers, pet dishes, dishwashers, toilet overflows, leaky hoses on washing machines in adjacent rooms; plumbing leaks, etc. Severe water damage will buckle the floor.
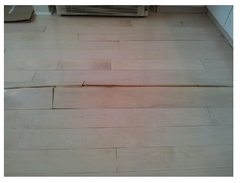 Cause: The hardwood pulls away from the sub-floor, rising up several inches in one or more areas. This is the most extreme reaction to moisture; usually caused by a moisture leak. Cure: Locate and repair the leak. Remove the damaged boards; allow area to completely dry before installing new boards.
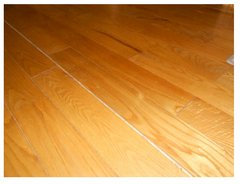 Cause: Floor joists have changed direction and plywood has not been overlapped. Wood floor joists shrink, but interior steel beams and jackposts do not. When settling occurs, the floor settles (lowers) on wood joists, but remains higher over the steel joists/jackposts. This causes large gaps between the rows of flooring that are over the steel beams/jackposts. Cure: Customize a wider board to fill the gapped space.
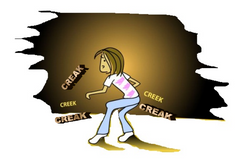 Cause: Fasteners have let go from the subfloor. / Subfloor has too much flex. / Not enough fasteners used. / Overdrawn fasteners have cracked the tongue; allowing movement. / Cluster joints. / Loose connection between the subfloor and the joists. / Boards have shrunk, allowing the wood to move. Cure: Glue injection / Live with the squeaks / Secure subfloor to the wood joists with glue and screws.
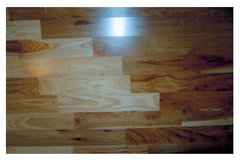 Cause: Installer did not complete one row at a time. Cure: Replace the boards. / Live with the look of the joints.